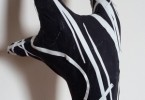
Anubis Study in Paper Maché Clay
Overview:
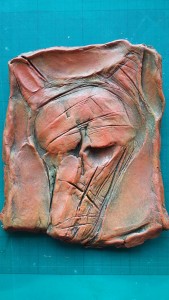
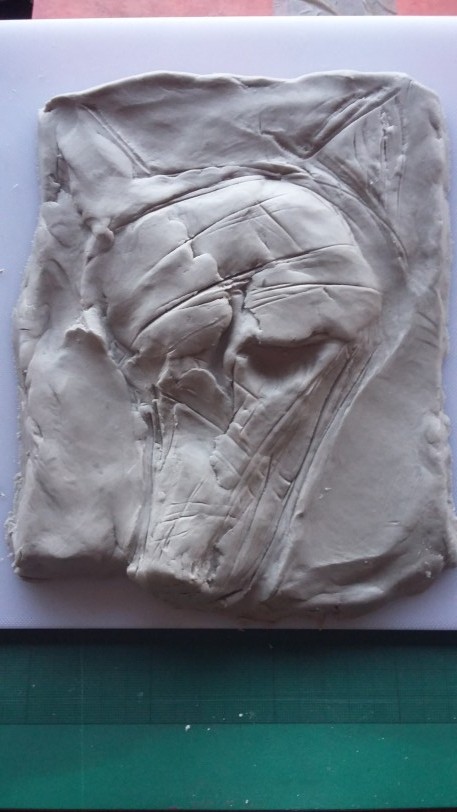
This relief sculpture in paper mache clay is a rough model that forms a preparatory study for larger work and relates to the earlier paper and tape ‘Head of Anubis’. I really wanted an unhibited, spontaneous approach to the material, to freely interact with a pliable three-dimensional surface. It was important to combine modelling with drawing. Therefore I chose paper mache, which is relatively easy to use and make, as well as being very inexpensive. This allows me to create sculpture without feeling ‘precious’ about wasting an expensive material.
Inspiration
The subject of the relief sculpture connects to a long-standing interest in animal heads and in particular focuses on the image of Anubis, the god in Egyptian art who often took the form of a jackal.
I have produced relief sculpture before, but was particularly inspired to return to this medium by a recent visit to an exhibition at the Estorick Collection in Islington, London. This featured the work of the Italian sculptor Giacomo Manzu, who is renouned for his bas reliefs in bronze.
How to make a simple recipe for Paper Mache.
In case you’re wondering there are many of recipes for paper mache clay recipes on the web but I’ve personally never found they produce a good modelling material . I tried making some myself but it was like sculpting with porridge! However I discovered a ready made paper mache clay from a local art shop that is produced by a Spanish company called Jovi. So much easier and cleaner!
The tools for sculpting and making marks
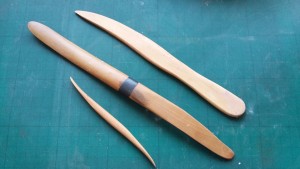
The sculptor Henri Gaudier Brzeska once said that the greatest modelling tool is the human thumb, and I tend to agree with him on this. However, You can also use your fingers, pencils, pens, knives or whatever you want to make marks and impressions into the papermache clay. I also use traditional wooden modelling tools to create drawn lines into the surface of the paper mache clay and also refine the form further. They costs less than a five pounds, and will last a life-time if you treat them right. They can be purchased from the sculptor’s suppliers Alec Tiranti
The work in progress
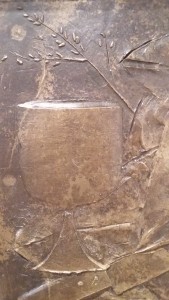
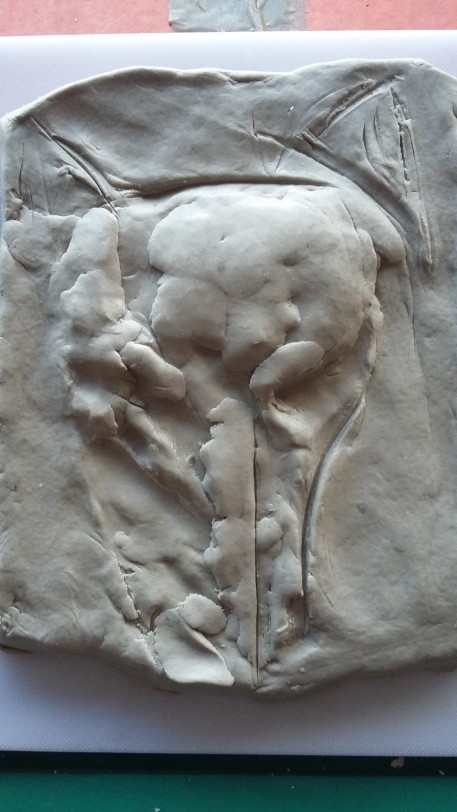
Here is a series of images of the sculpture as it takes shape. You can see the first state was quite different to the final one.
Final finish
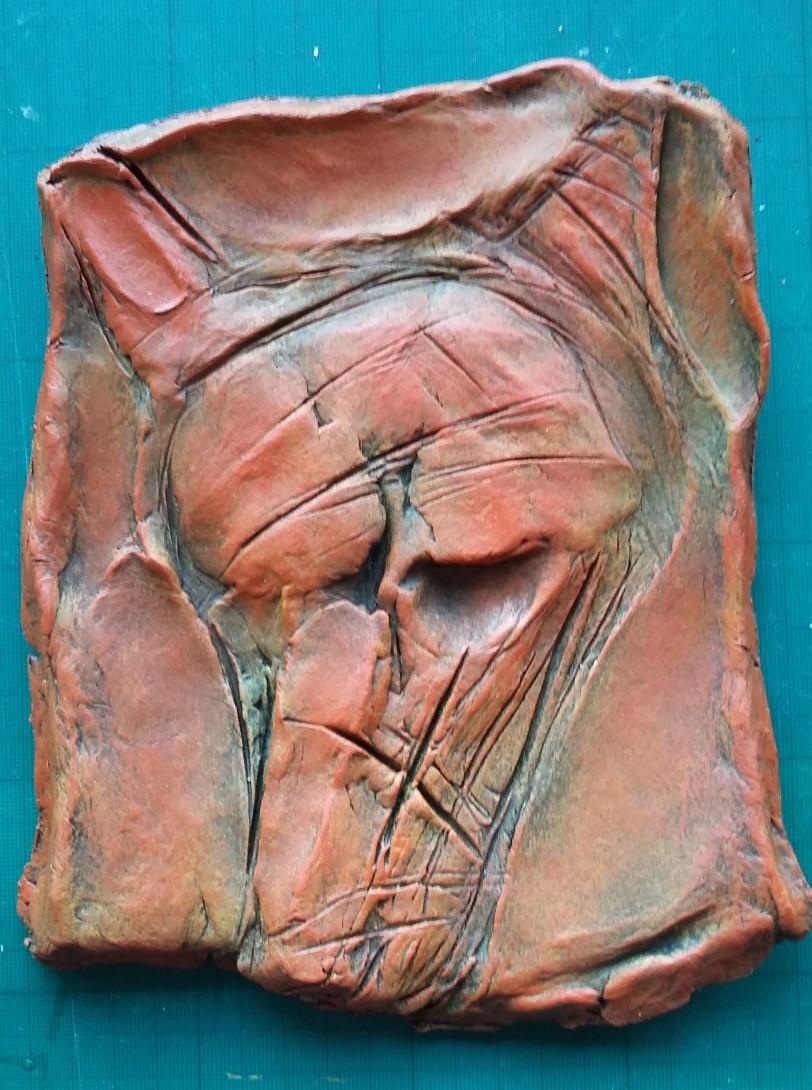
After drying and hardening the sculpture was coloured using acrylic paints to create a fired terracotta effect. The advantage of acrylic, as opposed to say oils is that it adhere to most surfaces and dries really fast. I first applied a base coat of dark grey. I then stippled a yellow ochre colour on top of this, and finally stippled another colour of reddish orange on top, allowing the ochre and base grey colour to come through. This produced a pretty convincing effect of fired terracotta.
Conclusion
This was a successful exercise in producing a quick sketch model of a relief sculpture and can be used as a reference for developing a larger more worked up piece of sculpture. The paper mache clay can warp when drying, so it is advisable to incorporate an armature of sorts such as MDF board and aluminium wire to prevent this.

